Configure an ESP
A step-by-step guide to configuring an ESP in Lemnisk
While you will be using Lemnisk to create all your Email campaigns, the actual delivery of the message to your target audience is facilitated by an Email Service Provider (ESP) like Sendgrid, Netcore, etc.
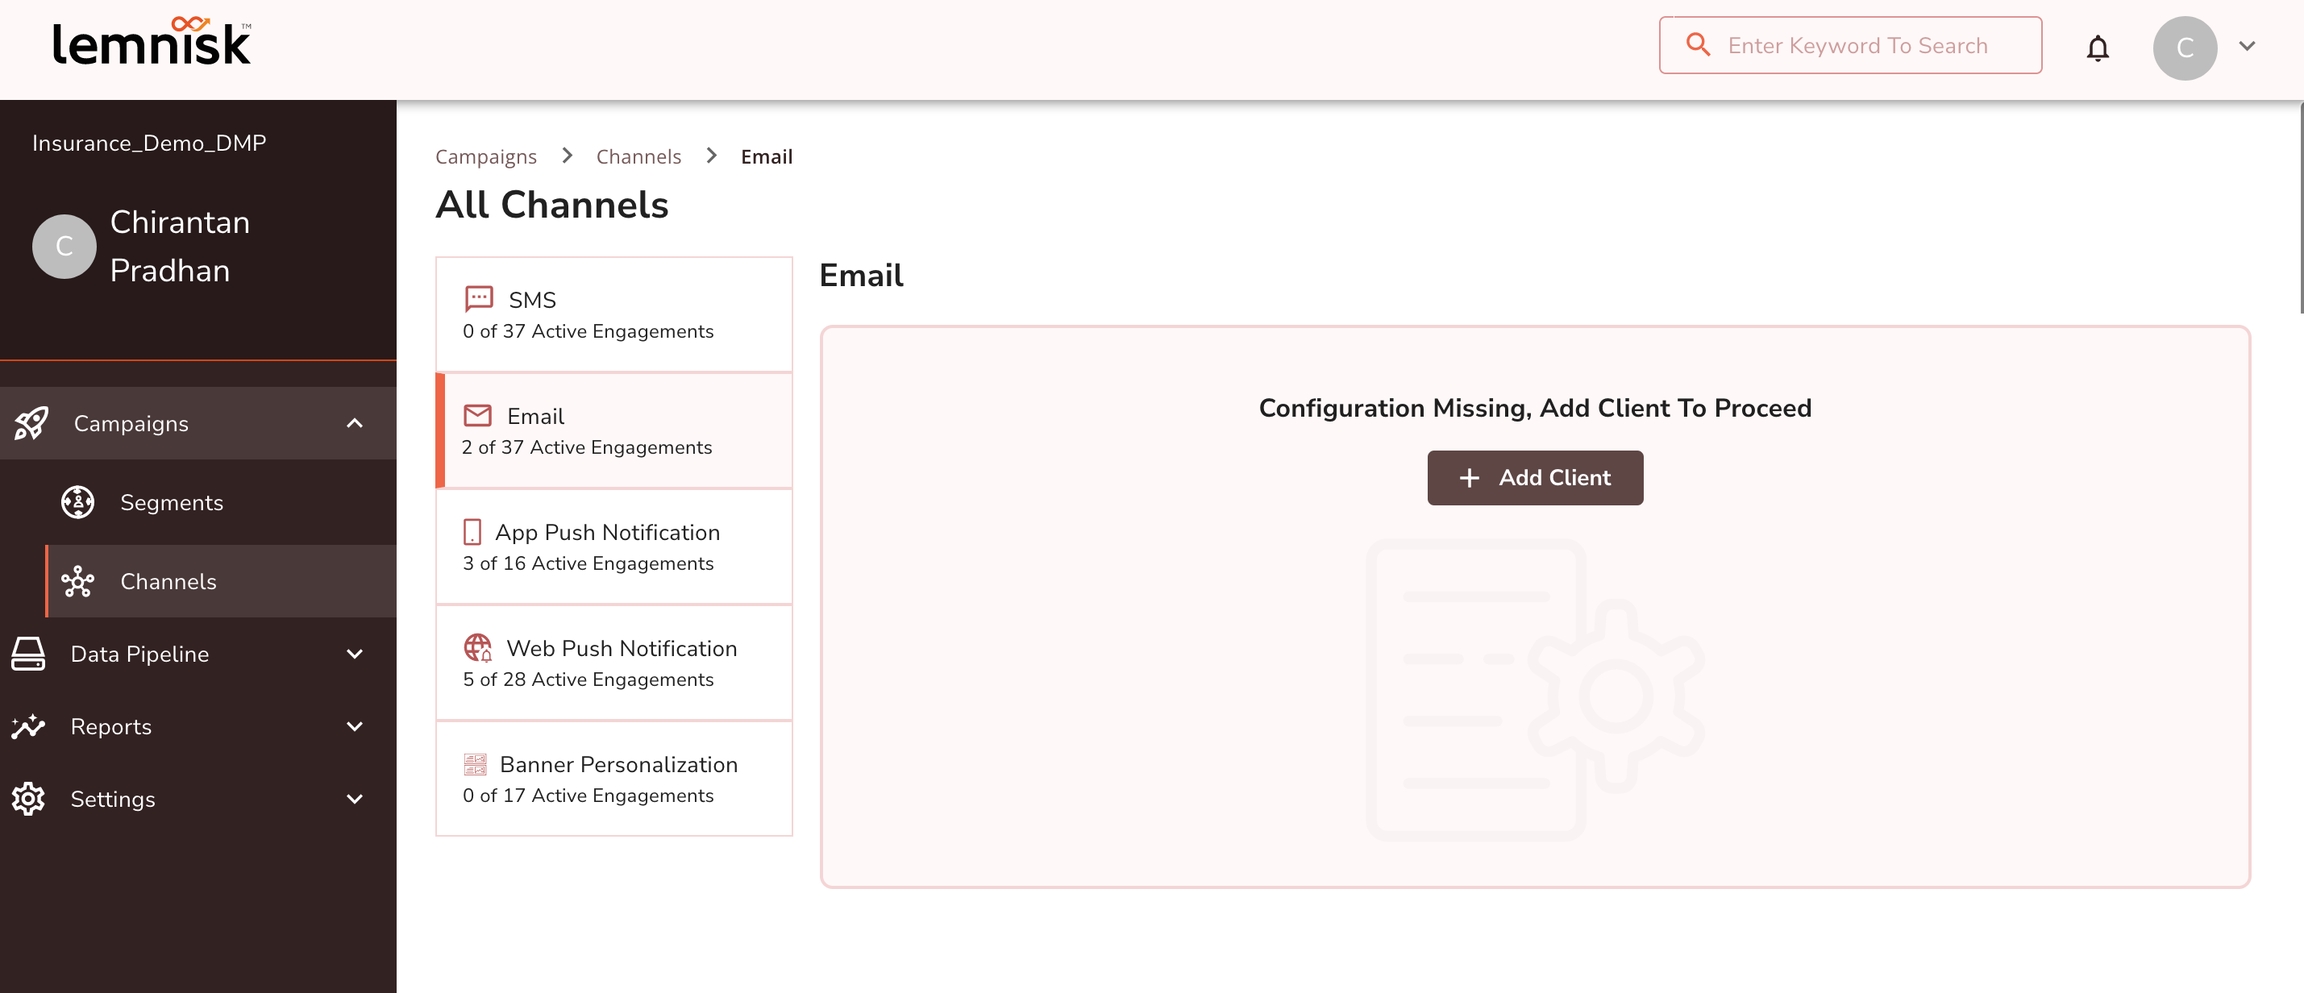
Before creating Email engagements, you must configure at least one ESP. A prompt will be displayed, as shown below if an ESP is not configured.
Add a new Email Service Provider
Step 1: Click on + Add Client. A modal will appear on the screen.
Step 2: From the modal, choose an ESP.
Step 3: Add a name to define the configuration. This is an internal configuration name and will not be sent while sending email campaigns.
Step 4: Enter ESP-specific settings in the Connection Settings and save.
Verify the configuration
Once the configuration is saved, you can test the configuration by using our Try It Out functionality.
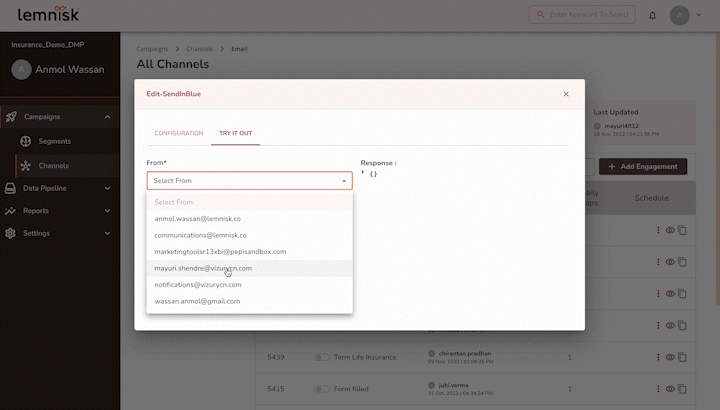
Step 1: Click on the TRY IT OUT tab.
Step 2: Choose the FROM email address from the drop-down box. Please make sure you choose a valid FROM email address that is verified as the sender domain by the ESP.
Step 3: Choose a REPLY TO email address. It is optional.
Step 4: Enter the email address in TO where you want to receive the test email.
Step 5: You can see the response of the API on the right-hand side, and if it is successful, you will receive an email.
Configure multiple ESPs
Lemnisk allows you to configure multiple ESPs. For example, if different departments of your organization are using different ESPs to trigger emails or within the same team you are using different ESPs for promotional and transactional use cases, you can configure multiple ESPs at Lemnisk.
Go to Channels > Email
Click on the ➕ icon
Select an ESP and enter configuration details
Verify if the new integration is working correctly.
Explore the topics below to configure any particular client
Last updated